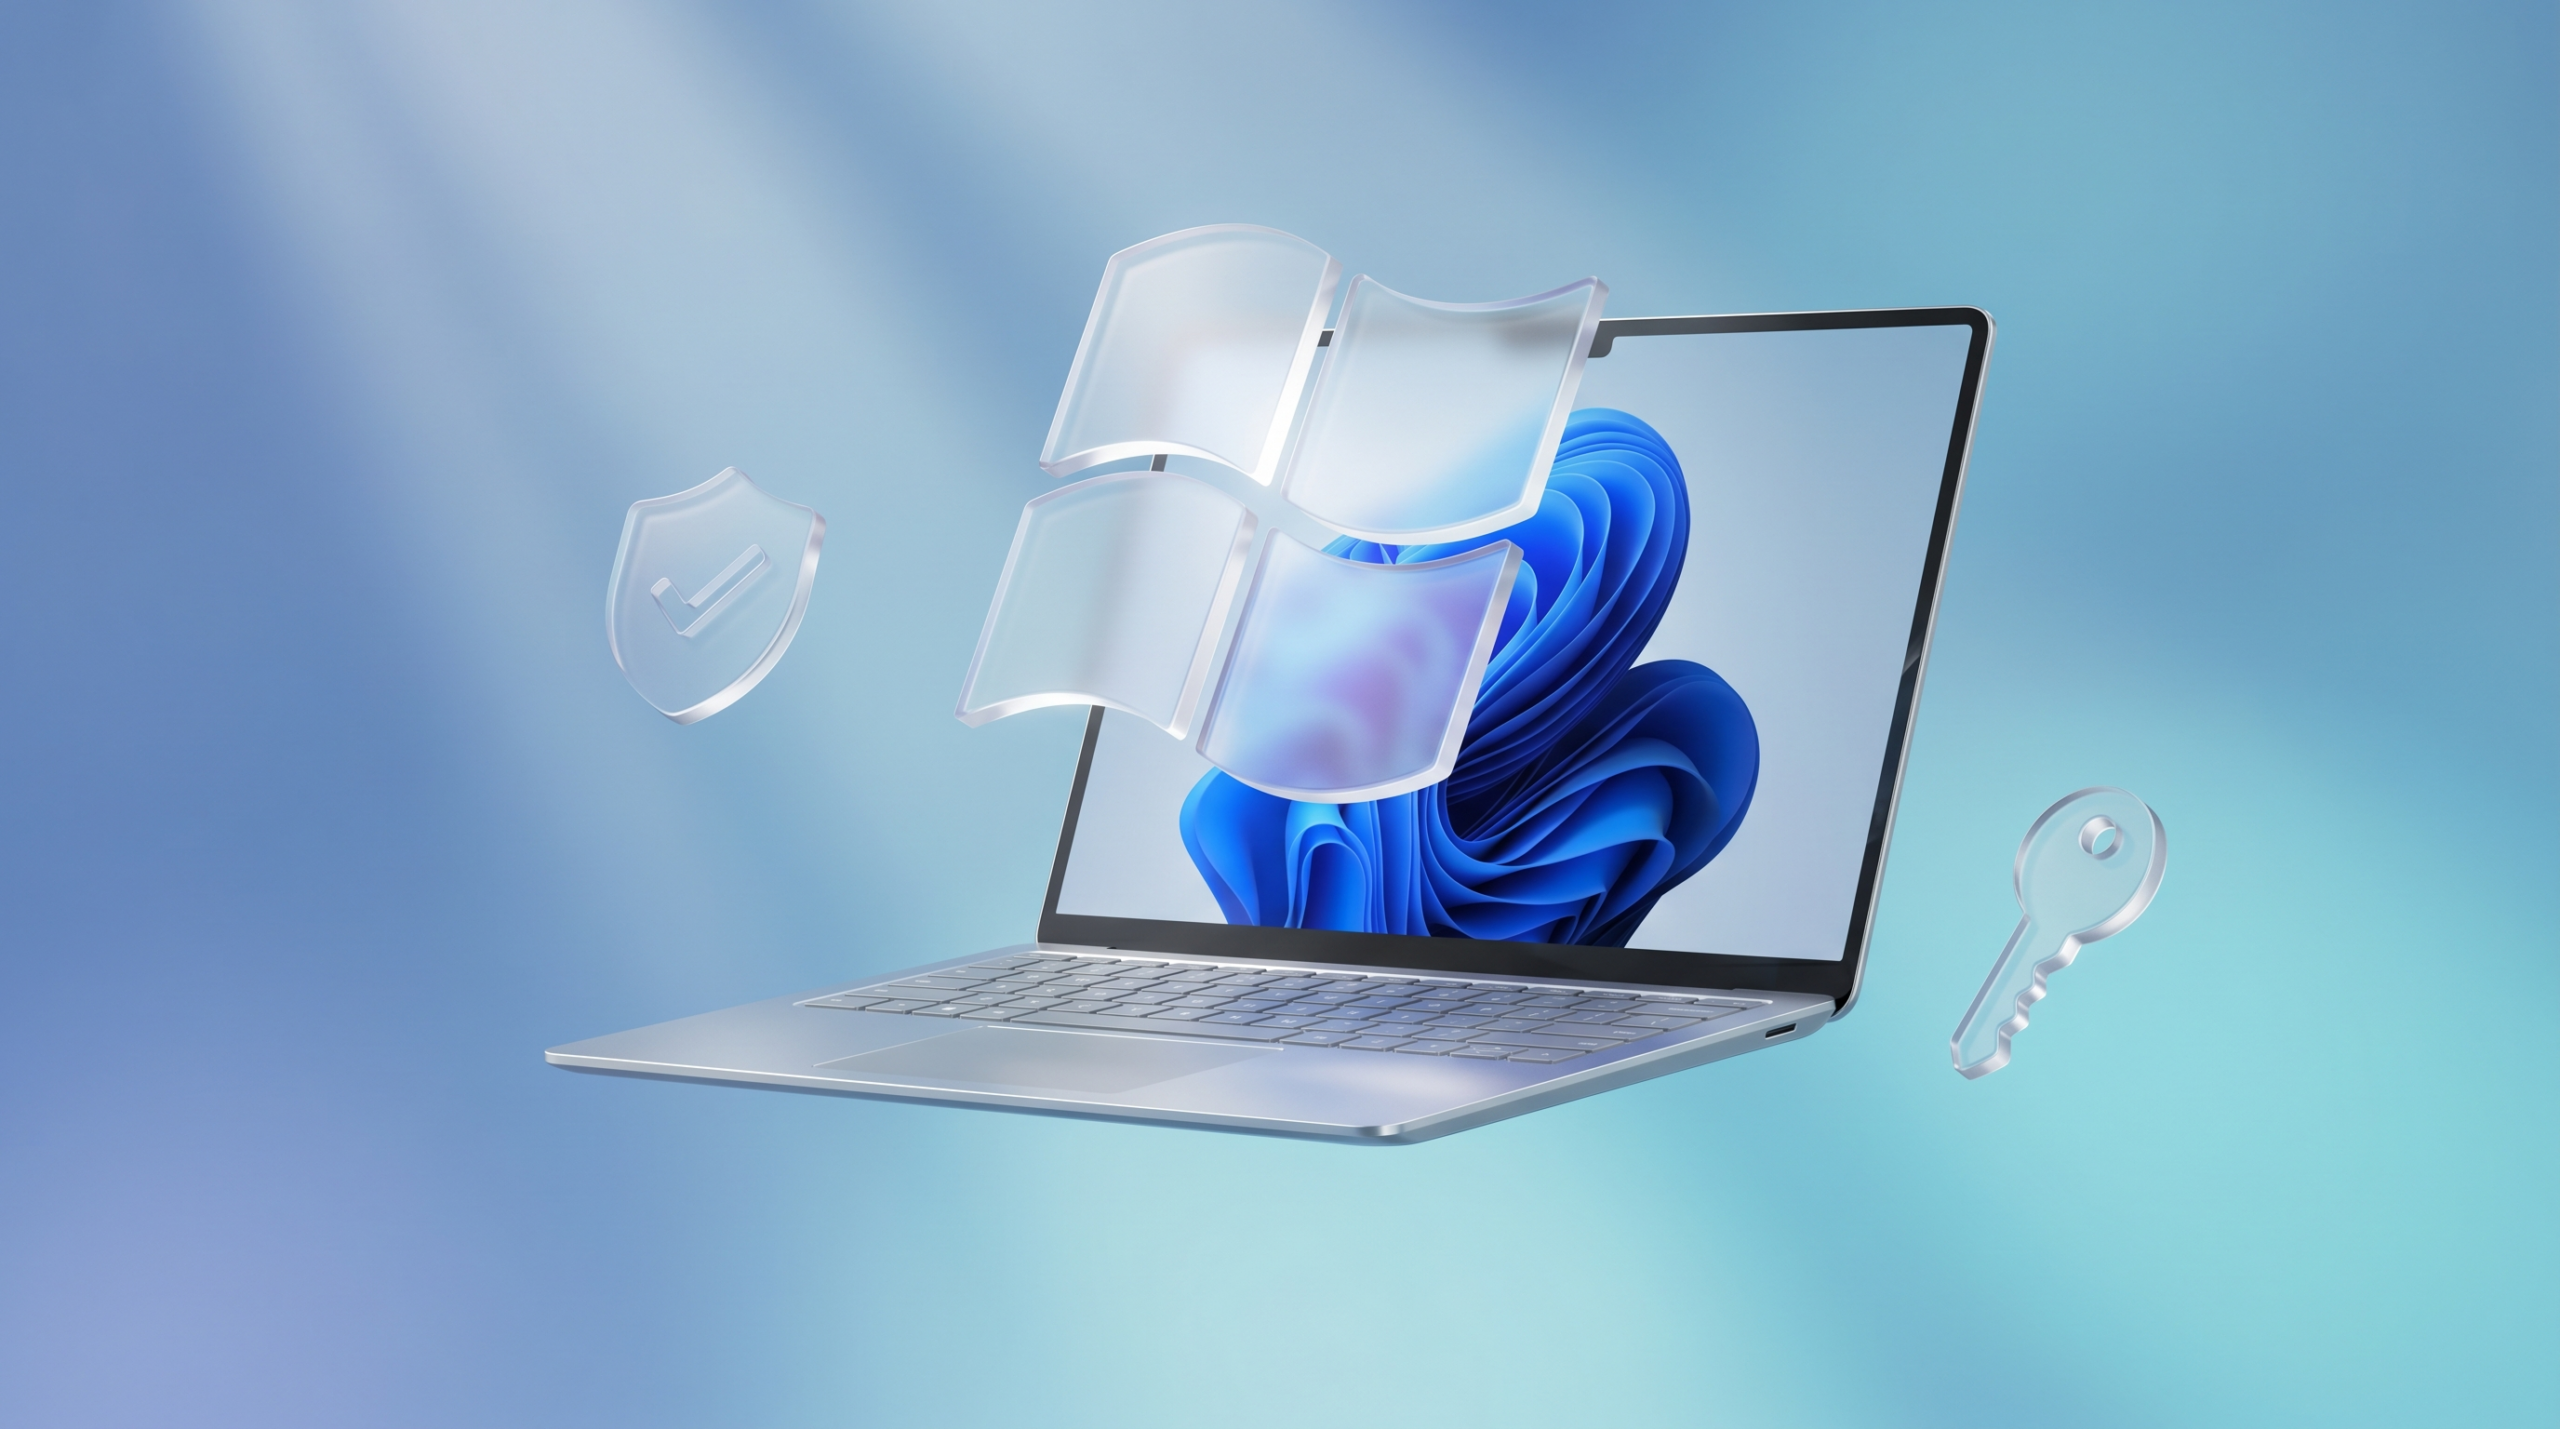
Setting up Windows 11 takes about 15–30 minutes. You’ll walk through a series of screens called OOBE (Out-of-Box Experience) — choosing your region, connecting to Wi-Fi, creating an account, and configuring privacy settings. Then you’re at the desktop.
This guide explains every screen you’ll see during setup and covers the essential post-setup tasks: Windows Update, drivers, activation, and removing bloatware.
Key Takeaways
- Windows 11 setup walks you through region, keyboard, network, account, and privacy settings before reaching the desktop.
- A Microsoft account is required by default during setup, but you can create a local account instead using the
start ms-cxh:localonlycommand. - After reaching the desktop, immediately run Windows Update, check drivers, and activate Windows to unlock all features.
Before You Start
New PC or Laptop (Pre-Installed)
Just power on. Windows 11 is already installed — you’ll go straight into OOBE. No USB or ISO needed.
Clean Install from USB
If you’re installing Windows 11 from scratch, you need a bootable USB drive. See our Rufus bootable USB guide for step-by-step instructions. You may also need to configure BIOS settings (TPM 2.0, Secure Boot, UEFI) before installing.
Windows 11 Setup: Every Screen Explained
Screen 1: Region and Language
- Select your country or region (e.g., United States).
- Click Yes.
- Select your keyboard layout (e.g., US).
- Click Yes.
- Add a second keyboard layout or click Skip.
Screen 2: Name Your PC
- Enter a name for your computer (e.g., “Desktop-Home” or “Sarah-Laptop”).
- This name identifies your device on the network, in OneDrive, and in your Microsoft account.
- Click Next. The PC restarts briefly.
Tip: Choose something recognizable. You can change it later in Settings → System → About → Rename this PC.
Screen 3: Connect to a Network
- Select your Wi-Fi network from the list.
- Enter the password and click Connect.
- Windows downloads updates in the background.
No internet? You can bypass this screen by pressing Shift + F10 and running start ms-cxh:localonly. See our offline setup guide for the complete process.
Screen 4: Check for Updates
Windows automatically checks for and installs updates. This can take a few minutes. Don’t turn off your PC during this step.
Screen 5: Sign In or Create an Account
Option A: Microsoft Account (Default) 1. Enter your Microsoft account email. 2. Enter your password or use Windows Hello. 3. Set up a PIN for faster sign-in.
Option B: Local Account
– On Windows 11 Pro: Select “Set up for work or school” → “Sign-in options” → “Domain join instead.”
– On all editions: Press Shift + F10, run start ms-cxh:localonly to open the local account dialog.
For a full guide, see how to set up Windows 11 without a Microsoft account.
Screen 6: Privacy Settings
Windows shows 6 privacy toggles. You can turn all of them off without losing functionality:
| Setting | What It Does | Recommended |
|---|---|---|
| Location | Apps can access your GPS location | Off (enable per-app later) |
| Find My Device | Locate your PC if lost | On for laptops, Off for desktops |
| Diagnostic data (Required) | Basic telemetry to Microsoft | Can’t be turned off |
| Diagnostic data (Optional) | Extended telemetry | Off |
| Inking & typing | Sends typing patterns to Microsoft | Off |
| Tailored experiences | Personalized tips and ads | Off |
| Advertising ID | Targeted ads across apps | Off |
Click Accept after making your choices. You can change all of these later in Settings → Privacy & security.
Screen 7: Customize Your Experience (Optional)
Windows asks what you’ll use the PC for (gaming, school, creativity, etc.). This customizes app suggestions. You can click Skip — it doesn’t affect functionality.
Desktop
You’re in. Windows 11 loads the desktop with the centered taskbar, Start menu, and default wallpaper. Setup is complete.
Post-Setup: 7 Essential Tasks
1. Run Windows Update
Open Settings → Windows Update → Check for updates. Install all available updates and restart when prompted. This may take 15–60 minutes depending on how many updates are pending.
2. Check and Install Drivers
Open Device Manager (right-click Start → Device Manager). Look for devices with yellow warning icons — these need drivers. For laptops, visit your manufacturer’s support page (Dell, HP, Lenovo) and download the latest drivers for your model.
3. Activate Windows
Go to Settings → System → Activation. If your PC came with Windows pre-installed, it should show “Windows is activated with a digital license.” If not, enter your product key. See our complete activation guide for all methods.
Don’t have a product key? Genuine Windows 11 keys start at $89.99 (Home) and $99.99 (Pro) from The Software City.
4. Set Up Windows Hello
Open Settings → Accounts → Sign-in options. Set up a PIN (faster than typing a password), and optionally add fingerprint or facial recognition if your device supports it.
5. Configure Backup
- OneDrive: Signs you in automatically with a Microsoft account. Choose which folders to sync (Documents, Desktop, Pictures).
- File History: Settings → System → Storage → Advanced storage settings → Backup options.
6. Remove Bloatware
New PCs often come with manufacturer apps you don’t need. Open Settings → Apps → Installed apps. Sort by size or publisher and uninstall anything you don’t recognize or need (e.g., trial antivirus, manufacturer utilities).
7. Set Default Browser and Apps
Windows 11 defaults to Microsoft Edge. To change: Settings → Apps → Default apps → search for your preferred browser (Chrome, Firefox) → set as default.
Frequently Asked Questions
How long does Windows 11 setup take?
The OOBE takes 15–30 minutes including updates. Post-setup tasks (full Windows Update, drivers, activation) can add another 30–60 minutes. Total time from power-on to a fully configured PC: about 1–2 hours.
Can I skip the Microsoft account during setup?
Yes. On Windows 11 Pro, select “Set up for work or school” → “Domain join instead.” On all editions, press Shift + F10 and run start ms-cxh:localonly . See our detailed guide .
What if I don’t have internet during setup?
You can bypass the network requirement and set up offline. See our Windows 11 without internet guide . You’ll need to install drivers and activate manually after connecting later.
Should I choose Windows 11 Home or Pro during setup?
If your PC came with a pre-installed edition, stick with it — the license matches. If doing a clean install, Pro adds BitLocker encryption, Remote Desktop, and easier local account setup. See our Home vs Pro comparison .
Can I change settings I chose during setup later?
Yes. Every setting from OOBE — region, keyboard, privacy toggles, account type, device name — can be changed in Settings after reaching the desktop. Nothing is permanent.
Do I need to activate Windows immediately after setup?
No. Windows 11 works without activation, but you’ll see a watermark and can’t personalize the desktop. Activate whenever you’re ready. Pre-installed PCs from major manufacturers activate automatically once connected to the internet.