How to Set Up Outlook on iPhone (Step-by-Step Guide)
Managing your email, calendar, and contacts from your iPhone is one of the most useful…
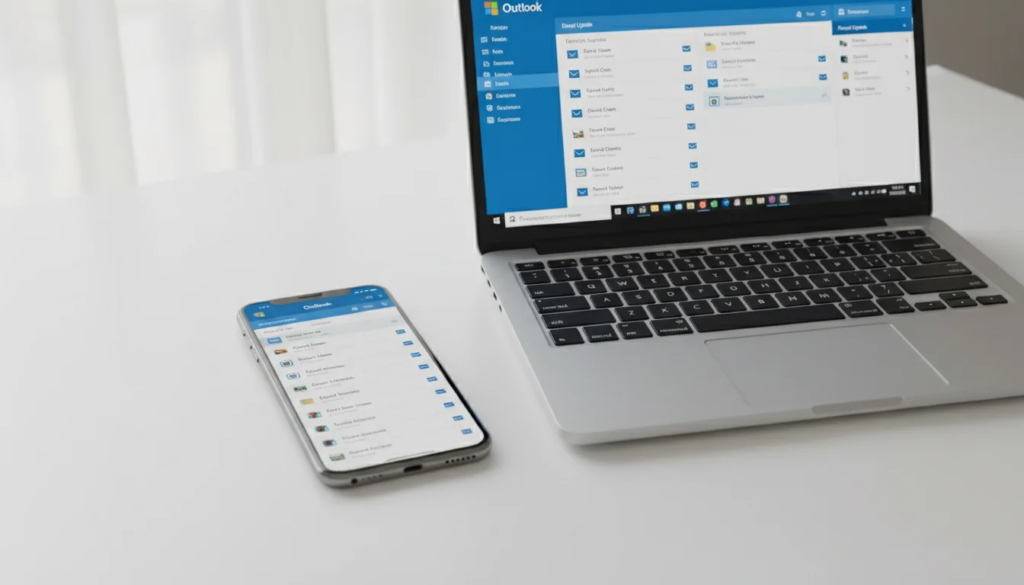
Managing your email, calendar, and contacts from your iPhone is one of the most useful things you can do for productivity. Microsoft Outlook on iPhone gives you a unified inbox, a built-in calendar, and contact sync — all in one place. Whether you use a Microsoft 365 work account, an Exchange mailbox, or a personal Outlook.com address, you can have everything running on your iPhone in under five minutes.
This guide covers three setup methods and answers the most common questions about Outlook on iOS.
Key Takeaways
- The Outlook for iOS app (free on the App Store) is the fastest and most feature-rich setup method — recommended for most users.
- iOS Mail supports Exchange and IMAP for Outlook accounts, a solid option if you prefer Apple’s built-in experience.
- Multiple accounts, push notifications, and calendar sync all work on iPhone regardless of which method you choose.
How Do I Set Up Outlook on My iPhone?
There are three ways to set up Microsoft Outlook on an iPhone. The Outlook for iOS app supports all major account types. The iOS Mail app handles Exchange/Microsoft 365 accounts natively, or any Outlook.com/Hotmail address via IMAP.
| Method | Best For | Account Types |
|---|---|---|
| Outlook for iOS app | Most users — full feature set | Microsoft 365, Exchange, Outlook.com, Gmail, Yahoo, iCloud |
| iOS Mail (Exchange) | Work/school Microsoft 365 accounts | Microsoft 365, Exchange |
| iOS Mail (IMAP) | Personal Outlook.com / Hotmail | Outlook.com, Hotmail, Live.com |
Choose Method 1 unless your organization requires a specific mail client.
Method 1 — Set Up the Outlook App on iPhone
The Outlook for iOS app is free on the App Store and is the method Microsoft recommends. It supports email, calendar, contacts, and file attachments from OneDrive or other cloud storage. Per Microsoft Support, setup takes just a few steps.
Step 1: Download the app. Open the App Store on your iPhone. Search for “Microsoft Outlook” and tap Get. The app is free; no subscription required to receive email.
Step 2: Open Outlook and tap Add Account. When you launch Outlook for the first time, it prompts you to add an account. If you already have the app, go to Settings (the gear icon) → Add Mail Account → Add Email Account.
Step 3: Enter your email address. Type your email address — this works for Microsoft 365, Exchange, Outlook.com, Gmail, Yahoo, and iCloud addresses. Tap Add Account (or Continue).
Step 4: Enter your password. On the next screen, enter your password. For Microsoft 365 or Exchange accounts, you may be redirected to your organization’s sign-in page.
Step 5: Complete multi-factor authentication (if required). If your account has MFA enabled, approve the sign-in request on your authenticator app or enter the verification code sent to your phone or email.
Step 6: Choose whether to add another account. After sign-in, Outlook asks if you want to add another email account. Tap Add Another Account to add more, or Maybe Later to continue.
Step 7: Done — your inbox loads automatically. Email, calendar events, and contacts sync in the background. You can access the calendar from the calendar icon at the bottom of the app.
Screenshot guidance: After Step 6, you will see the unified inbox. A blue bar at the top indicates Outlook is syncing for the first time — this usually completes within 30 seconds on a Wi-Fi connection.
Method 2 — Set Up Outlook in the iOS Mail App (Exchange)
If you have a Microsoft 365 or Exchange work account, iPhone’s built-in Mail app can connect directly using the Exchange ActiveSync protocol. This method keeps all email in the iOS Mail app alongside other accounts you already use.
Step 1: Open Settings. On your iPhone, tap Settings → scroll down to Apps → tap Mail → tap Mail Accounts → tap Add Account.
Step 2: Select Microsoft Exchange. In the list of account types, tap Microsoft Exchange.
Step 3: Enter your email address and a description. Type your Microsoft 365 or Exchange email address. In the Description field, enter a label like “Work Email.” Tap Next.
Step 4: Choose to sign in. iOS will ask whether to configure manually or sign in. Tap Sign In. You will be redirected to your organization’s Microsoft login page.
Step 5: Enter your password and complete any MFA. Authenticate as you would on a desktop. If your organization uses conditional access policies, iOS may prompt you to install a configuration profile.
Step 6: Choose which services to sync. Toggle on the services you want: Mail, Contacts, Calendars, Reminders, and Notes. Tap Save.
Your work email now appears in the iOS Mail app. Calendar events sync to the iOS Calendar app automatically.
Method 3 — Set Up Outlook.com via IMAP in iOS Mail
For personal Outlook.com, Hotmail, or Live.com accounts, use the IMAP method when adding through iOS Mail. You will need the exact server settings — use the values below exactly as shown.
Step 1: Open Settings → Apps → Mail → Mail Accounts → Add Account → Other.
Step 2: Tap Add Mail Account. Enter your full name, Outlook.com email address, password, and a description. Tap Next.
Step 3: Select IMAP at the top of the next screen.
Step 4: Enter the incoming mail server settings.
| Setting | Value |
|---|---|
| Host Name | imap-mail.outlook.com |
| Port | 993 |
| SSL | On |
| Username | Your full Outlook.com email address |
| Password | Your account password |
Step 5: Enter the outgoing mail server settings.
| Setting | Value |
|---|---|
| Host Name | smtp-mail.outlook.com |
| Port | 587 |
| SSL/TLS | STARTTLS |
| Username | Your full Outlook.com email address |
| Password | Your account password |
Step 6: Tap Next, then Save. iOS verifies the server connection. Once confirmed, your Outlook.com inbox appears in the Mail app.
Note: IMAP syncs email only. Calendar and contacts do not sync via IMAP. For full sync on a personal account, use the Outlook for iOS app (Method 1).
For a complete reference on server ports and authentication, see the Outlook SMTP settings reference.
Should I Use the Outlook App or the iOS Mail App?
This is one of the most common questions when setting up Outlook on iPhone. The short answer: use the Outlook app if you want the best experience. Use iOS Mail if you prefer a native Apple interface or need tight integration with other iOS apps.
| Feature | Outlook for iOS App | iOS Mail (Exchange) | iOS Mail (IMAP) |
|---|---|---|---|
| Push notifications | Yes | Yes | Fetch only |
| Calendar sync | Yes (in-app) | Yes (iOS Calendar) | No |
| Contacts sync | Yes (in-app) | Yes (iOS Contacts) | No |
| Multiple accounts | Yes — unified inbox | One Exchange account | One IMAP account |
| Focused Inbox | Yes | No | No |
| OneDrive attachment access | Yes | No | No |
| Microsoft 365 support | Full | Full | Partial |
| Outlook.com support | Full | Limited | Yes |
| Free | Yes | Built-in | Built-in |
| Siri integration | Limited | Yes | Yes |
Bottom line: The Outlook app wins on features, especially for calendar, focused inbox, and multi-account management. iOS Mail wins on system integration, Siri shortcuts, and a familiar Apple interface.
How Do I Add Multiple Email Accounts to Outlook on iPhone?
You can add multiple accounts easily. Each added account gets its own inbox folder, and Outlook shows a unified “All Inboxes” view at the top.
To add another account:
- Open the Outlook app on your iPhone.
- Tap your profile picture or initials in the top-left corner.
- Tap the envelope with a + icon (Add Mail Account), or go to Settings (gear icon) → Add Mail Account.
- Tap Add Email Account.
- Enter the new email address and follow the sign-in steps.
Outlook supports Microsoft 365, Exchange, Outlook.com, Gmail, Yahoo, and iCloud accounts in the same app. You can switch between accounts using the sidebar, or view all inboxes together using the All Inboxes folder at the top of the account list.
Why Won’t Outlook Sync on My iPhone?
Sync issues are the most common problem after setting up Outlook on iPhone. Most are quick to fix. The table below covers the five most frequent causes.
| Issue | Likely Cause | Fix |
|---|---|---|
| Emails not loading | No internet connection | Switch between Wi-Fi and cellular; confirm connection |
| Notifications not arriving | Push disabled for Outlook | Go to Settings → Notifications → Outlook → Allow Notifications → set to Immediate |
| Calendar not updating | Background App Refresh off | Settings → General → Background App Refresh → enable Outlook |
| “Cannot connect to server” error | Wrong password or MFA token expired | Open Outlook → tap the error banner → re-enter credentials |
| Account shows offline | Exchange server policy or certificate issue | Contact your IT admin; try removing and re-adding the account |
If the app itself is unresponsive, force-quit Outlook (swipe up in the app switcher) and reopen it. For persistent sync problems, go to Outlook Settings → tap your account → Reset Account — this re-establishes the connection without deleting your email.
Frequently Asked Questions
Is the Outlook app free on iPhone?
Yes. Microsoft Outlook for iOS is free to download from the App Store. You can receive and send email with any supported account at no cost. A Microsoft 365 subscription is required only if you want to access Microsoft 365 business features like advanced calendar management or Teams integration within the app.
Can I use Outlook on iPhone without Microsoft 365?
Yes. The Outlook app works with personal Outlook.com, Hotmail, Gmail, Yahoo, and iCloud accounts without any Microsoft 365 subscription. If you want the desktop version of Outlook on a PC or Mac, that does require an Office license — see our Office 2024 lifetime license guide for a one-time purchase option at $189.99.
How do I set up my signature in Outlook on iPhone?
Open the Outlook app → tap Settings (gear icon) → tap your account name → tap Signature . Type your desired signature text and tap the back arrow to save. You can set a different signature for each account. For more signature tips, see how to set up a signature in Outlook .
Does Outlook on iPhone support push notifications?
Yes, the Outlook for iOS app supports real-time push notifications for new email and calendar reminders. Make sure notifications are enabled: go to iPhone Settings → Notifications → Outlook → turn on Allow Notifications and set delivery to Immediate . Background App Refresh must also be enabled for the app to sync in the background.
by Editorial Team
Updated on April 5, 2026
by Editorial Team
Updated on April 5, 2026
ON THIS PAGE